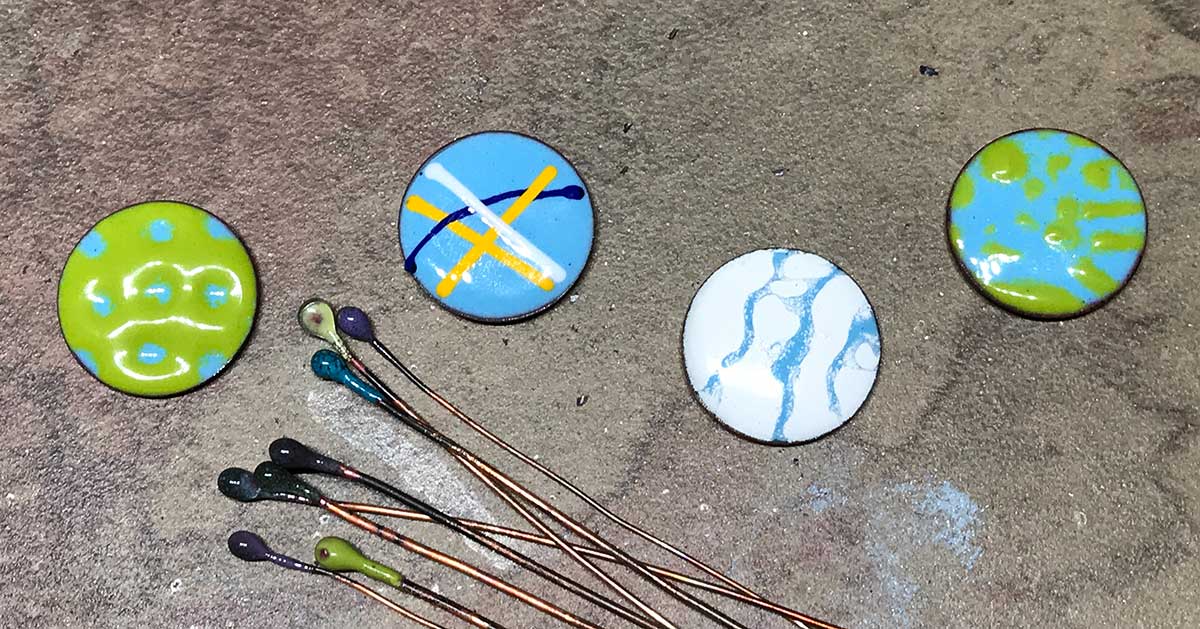
Tammy Honaman’s Top 5 Favorite Torch-Fired Enameling Techniques

I love color. There are no two ways about it. Color draws me into a material and it leads my hand into a design. Okay. Maybe that’s a little too simplified, and designs don’t always come together that easily, but we can dream, right? Enameling is one of those mediums I was immediately drawn to, thanks to all the color. Then, because of the diversity of torch-fired enameling techniques one could pursue, I’m sticking with enamel for the long haul.

Truly, you could create a lifetime of work using just one of many enameling techniques—like cloisonne. For me though, cloisonne is one technique I think would take me a lifetime before I made one piece that I would be happy with. Maybe that’s why torch-fired enameling appeals to me. Not only is it something I can do easily in my small studio space, it’s very forgiving. Plus, you can create a wide range of designs with a variety of enameling techniques (which is good for my lack of focus!). Torch-firing enamel is also one of those things where “organic” actually looks good!

So, what can you do with torch-fired enameling? Let’s dive into five ways to torch fire enamels (with more to follow in another article).
If enameling is brand new to you or it’s been awhile, please be sure to read 15+ Enameling Tips: Safety and Basics for Bringing Color to Your Jewelry.
Two Sgraffito Enameling Techniques

The word sgraffito is from the Italian language and means to scratch through the surface to reveal the layer below. It is commonly used in plaster or stucco and with slip in ceramics, before firing. To follow are two ways I learned to approach sgraffito enamel.
Note: The following enameling techniques are done on copper and use the same foundation of 80-mesh bitter green for the counter enamel (for the underside) and horizon blue for the first top layer. There are a myriad of ways you can take these techniques. My hope is, by keeping things simple with the design, we can focus on the techniques and then let you use your own creativity once you have the enameling techniques under your belt.

With the counter enamel and top layer established and cooled, follow these additional steps to achieve the different effects.
Sgraffito: Scratching Through Sifted Enamel

Sift a second top layer of a contrasting 80-mesh enamel color. Then, using a fine-tipped tool or fine paintbrush, “scratch” a design into the sifted enamel to reveal the layer below.

Fire, then allow the piece to cool.
Sgraffito: Scratching Through Liquid Enamel

1. Prepare liquid enamel (if starting with powdered enamel).
Pour a small amount of powder into a container. It looks like powdered sugar but isn’t safe to breathe, so be sure to wear a respirator-style mask.

Add water to the powder, then blend with a spoon (I used approximately a 70/30 ratio). Add more water as needed to reach your preferred consistency. I like when the back of the spoon is coated and drips fall slowly. Before using the prepared liquid enamel, some like to pass the enamel through a fine sieve or piece of cheesecloth to remove any large enamel particles.

2. Using a paintbrush, apply liquid enamel to the top enamel layer; allow to dry.

3. Use a fine-tipped sharp awl to scratch a design into the surface of the dried enamel.
Scratch through the dried liquid enamel surface.
4. Fire; allow to cool.
Enameling Techniques: Stenciled Dry Sifted Enamel

Place a stencil over the blue horizon surface. Sift enamel over the stencil so you cover the area you want for your design.

Remove stencil and check the design. Use a paintbrush to clean up any stray enamel particles.

Fire; allow to cool.
Enameling Techniques: Cat Whiskers Enameled Surface

Place the enameled disc onto a trivet; then place the trivet onto your tripod. Place “whiskers” on the surface.

You may find the whiskers want to roll off before you can complete your design. Fire a few in place; then add more as your design dictates.

Enameling Techniques: Enamel-Tipped Headpins

Cut copper wire (22- to 16- gauge) into 3-4” lengths. Heat one end of one length of wire until it forms a ball. Quench in water.

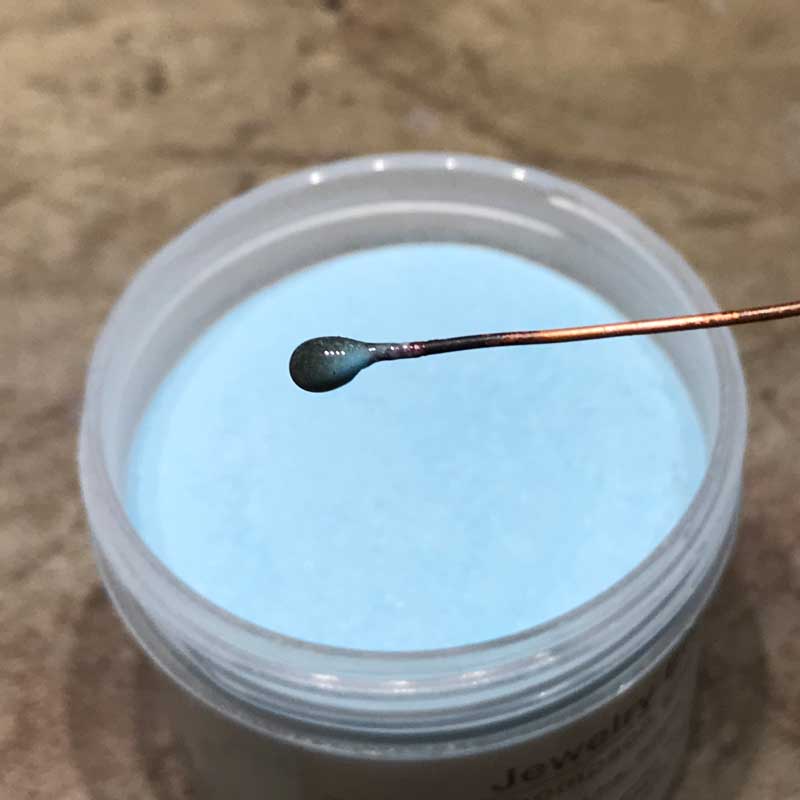
Hold the headpin with heatproof tweezers. Heat the ball end of the wire and while red, dip into enamel (80-mesh). Repeat a few times, heating the ball end to red with each layer so the enamel is heated to a full fuse.

These five torch-fired enameling techniques have a lot of room for interpretation. Try them on and see how you like them! Then increase your enameling knowledge and technique library with expert enameling videos and books. See if you like just one technique or if you’re like me and want to use them all!
Tammy
Editor of Beadwork magazine and Group Editorial Director, Bead & Jewelry


Join the Conversation!