How to Ice Dye Yarn: Wool, Cotton, and More

Ice dyeing is a great way to let the sun do the work of dyeing! This technique uses dye powder and ice to disperse the dye unevenly. As the ice melts, the result is a one-of-a-kind look that’s unique to your project. You’ve probably seen ice-dyed garments and fabric on the market, but you can ice dye yarn as well. The effect is more subtle than when ice-dyeing fabric, but you still get those color fades, speckles, and split colors that make ice dyeing so unique.
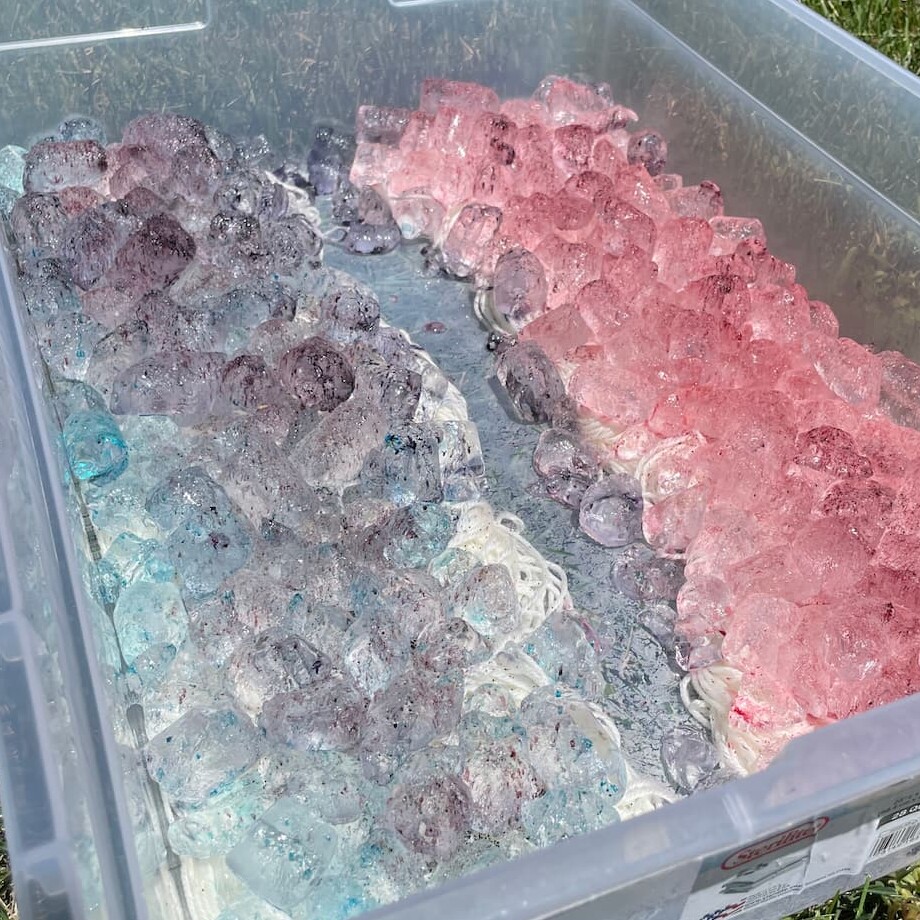
There are many different possibilities for ice dyeing—you can create space-dyed colorways, allover speckles, ombre effects, and more. Just be aware that the colors will blend, dye colors will split, and the dye will uptake unpredictably. Think of it as an experiment, and have fun!
Related: Understanding Hand-Dyed Yarn Colorways and Terminology
Choosing Your Yarn Base and Dye
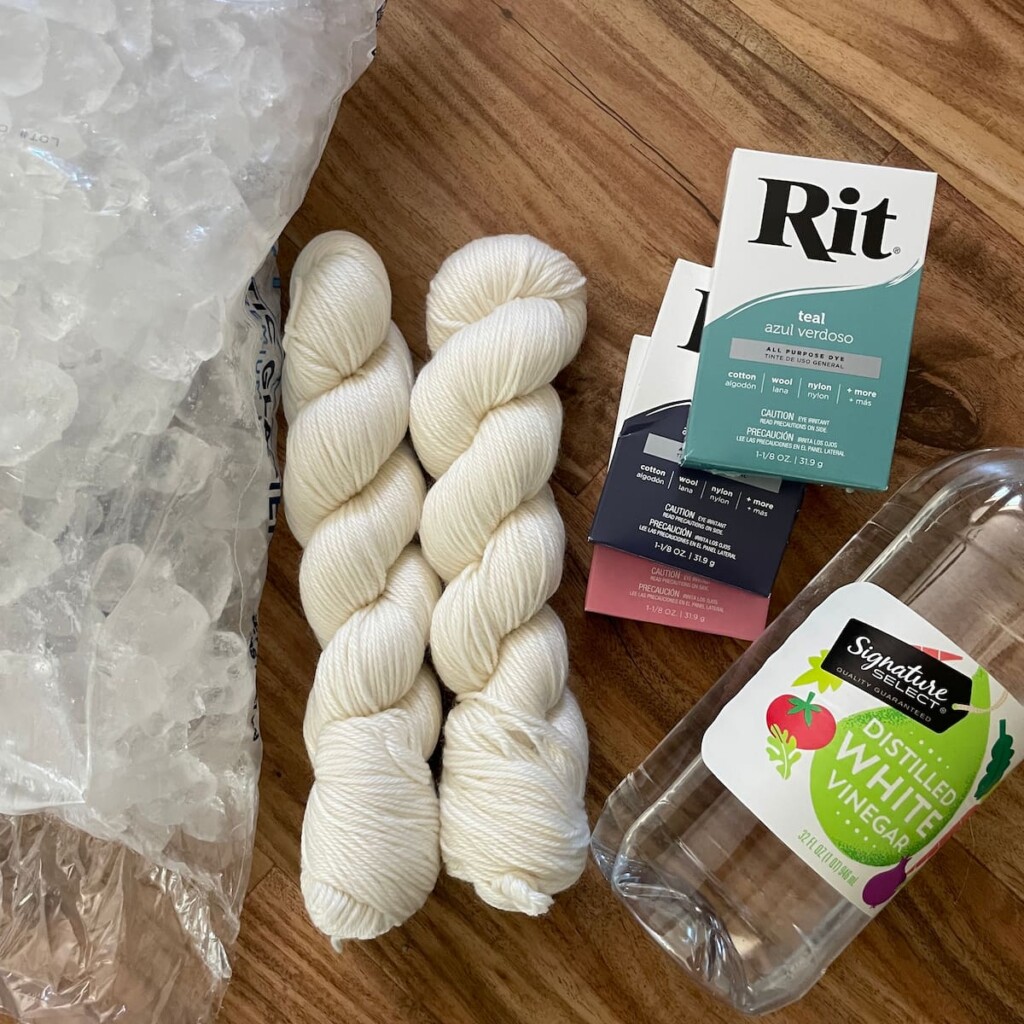
Different types of yarn require different types of dye. For protein fibers like wool, alpaca, and cashmere, as well as for nylon, you will use acid dyes. For cellulose fibers like cotton, linen, and hemp, as well as rayon and ramie, you will use fiber-reactive dyes. Silk can be dyed with either method, but most manufacturers recommend using acid dyes when ice-dyeing. There are also all-purpose dyes that allow you to dye either type of fiber, as well as blends.
For your first time, I recommend you pick a straightforward yarn—100% wool, a wool/nylon blend, or 100% cotton. I used AOYANG Worsted Weight Undyed Yarn, which is a 4-ply wool/nylon blend. Knit Picks sells wonderful undyed yarns as well, in a variety of bases.
In choosing your dye, be sure you are using the right type for your chosen fiber. There are tons of dyes on the market, but here are my recommendations for each type.
Acid Dyes: Jacquard is a classic brand for acid dyes, with so many colors available. Greener Shades is a wonderful heavy metal-free option that many people love.
Fiber-Reactive Dyes: Jacquard’s Priocion dyes are excellent fiber-reactive dyes, and Dharma Trading Company offers another great option.
All-Purpose Dyes: Rit dyes are readily available at big box craft stores and even in the laundry aisle of some grocery stores. Rit works well for dyeing both cotton and wool. I used Rit dyes for this demo.
Whatever dye you choose, I suggest you start by purchasing 2-3 dye colors and experimenting with them, or by purchasing a dye kit.
Be aware that the exact colorways you achieve depends on many factors: how much dye you use, the fiber you dye on, the natural colors of your yarn, and how well the dye binds to the fiber.
Dye Safety
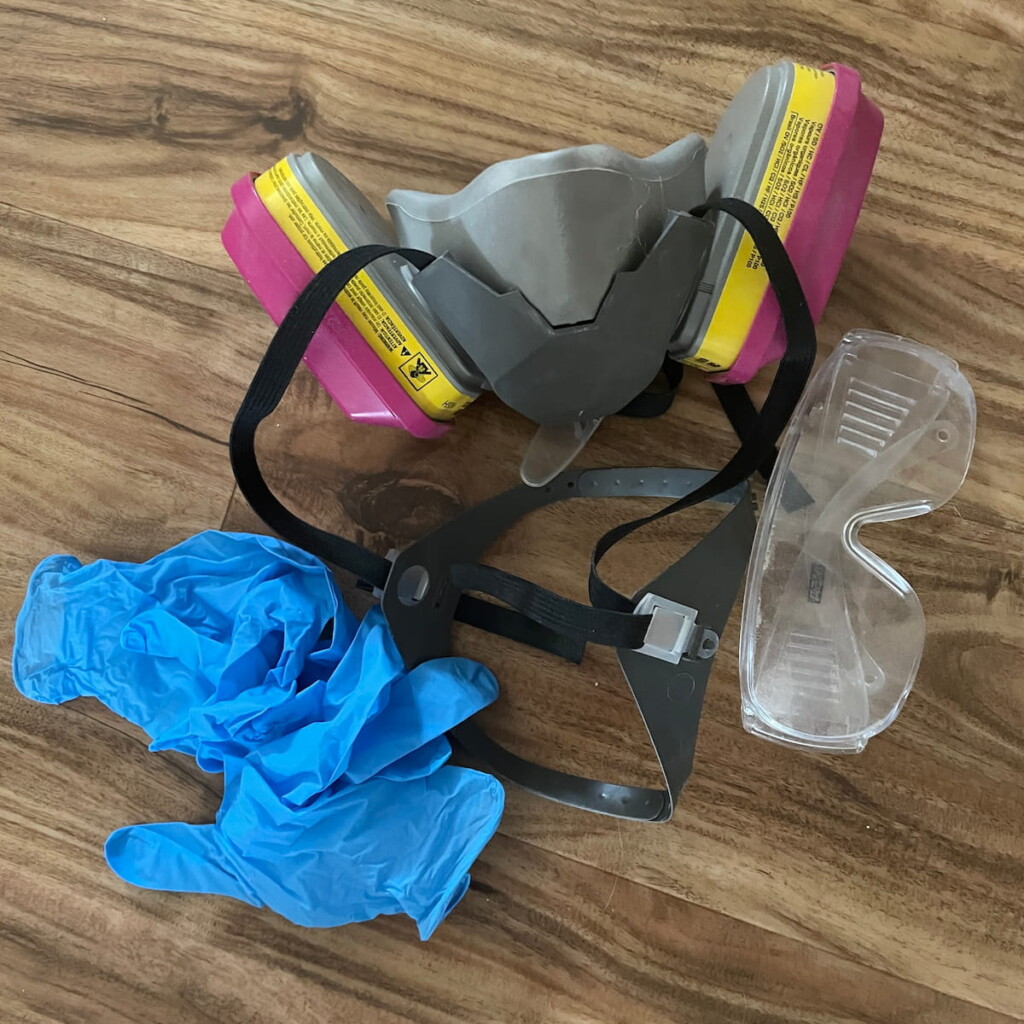
This is an overview of the necessary safety information for dyeing, but please be sure to carefully read the safety notes for the dye you use. When in doubt, wear a respirator, eye protection, and gloves—this is mandatory whenever you’re dealing with dry dye powder. Once equipment is used for dyeing, it should not be used again for food. Finally, keep dyeing processes well away from pets and unsupervised children.
How to Ice Dye Yarn
Materials List
✓
Undyed yarn
✓
Synthrapol® or detergent: Synthrapol® is an industrial strength, pH neutral, liquid detergent used as a prewash and afterwash for dyed fabrics. It has the unique property of keeping loose dye suspended during washing, preventing backstaining while aiding in the removal of excess color.
✓
Dye activator/enhancer: Use vinegar or citric acid for protein fibers and salt or soda ash for cellulose fibers (per the manufacturer’s instructions)
✓
Large flat metal try, roasting pan, or plastic bin (designated for non-food use)
✓
Optional: Metal rack (designated for non-food use)
✓
Plenty of ice, broken up if it’s frozen together
✓
Respirator or fitted filtering mask
✓
Safety glasses
✓
Nitrile gloves
✓
Dye: Use acid dyes for protein fibers and fiber reactive dye for cellulose fibers, or use an all-purpose dye like Rit for either type and for blends
✓
Optional: Plastic wrap or zip top plastic bags (used to wrap your skeins for steaming, which will keep your colorways from bleeding and improve the steam-set of the dye)
✓
Optional: Stock pot with steamer insert (designated for non-food use)
Preparing the Yarn
1
If your yarn came in a twisted skein, untwist it and make sure there are zip ties or other ties keeping the yarn from tangling.
2
Pre-wash your yarn with Synthrapol® or detergent, per the care instructions for the base yarn.
3
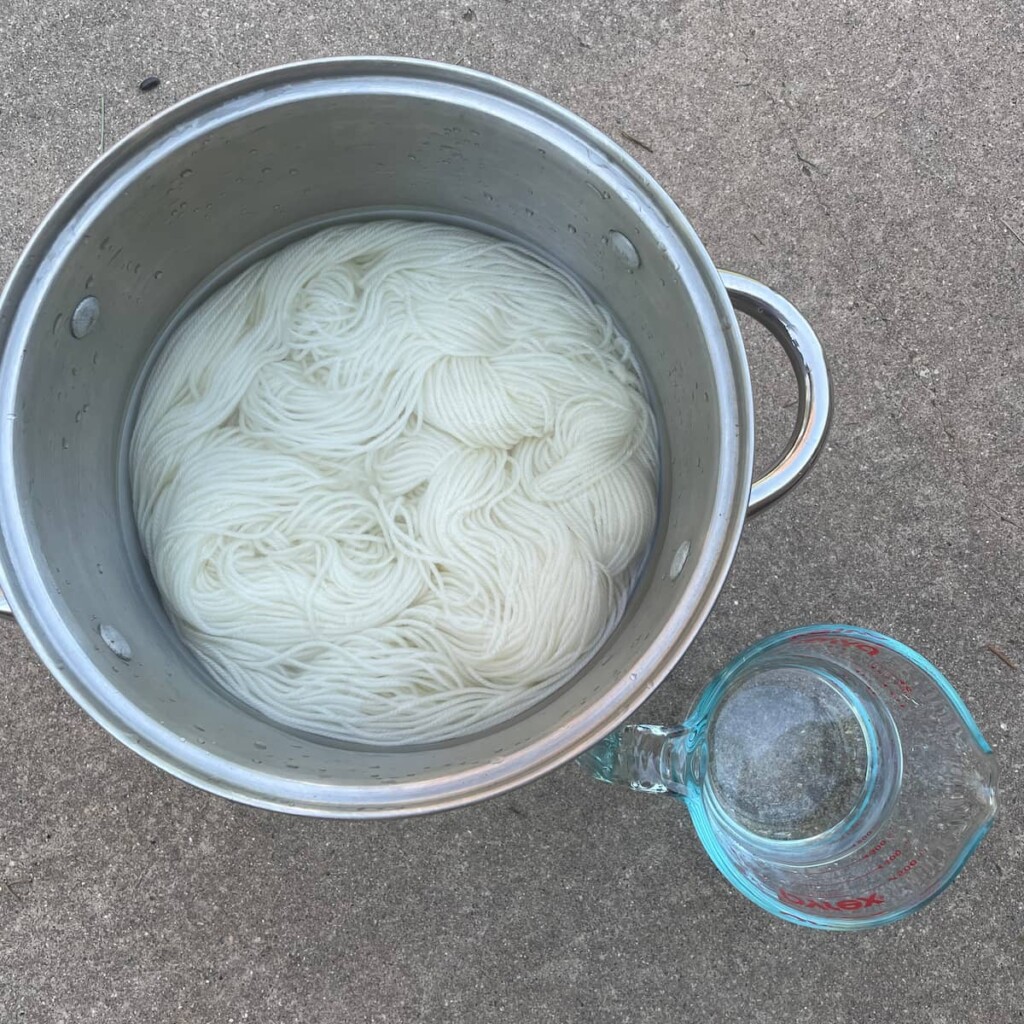
Pre-treat your yarn using the manufacturer’s instructions for cold dyeing. If you’re using acid dye, pre-soak the yarn in a vinegar or citric acid solution. I added about a cup of vinegar to my water and soaked it for a couple hours. For fiber-reactive dye, you may need to soak the yarn in a salt or soda ash solution.
4
Squeeze the excess water out of the yarn or spin out the water in a salad spinner. Remember never to wring yarn made from protein fibers, to avoid felting.
Ice Dyeing the Yarn
5
Arrange the damp yarn in your dye container. You may wish to put the yarn on top of a rack in the container to allow excess dye to pass through. Experiment with scrunching, spiraling, etc to form different patterns. I got the best result by spreading the yarn into a relatively thin layer.
6
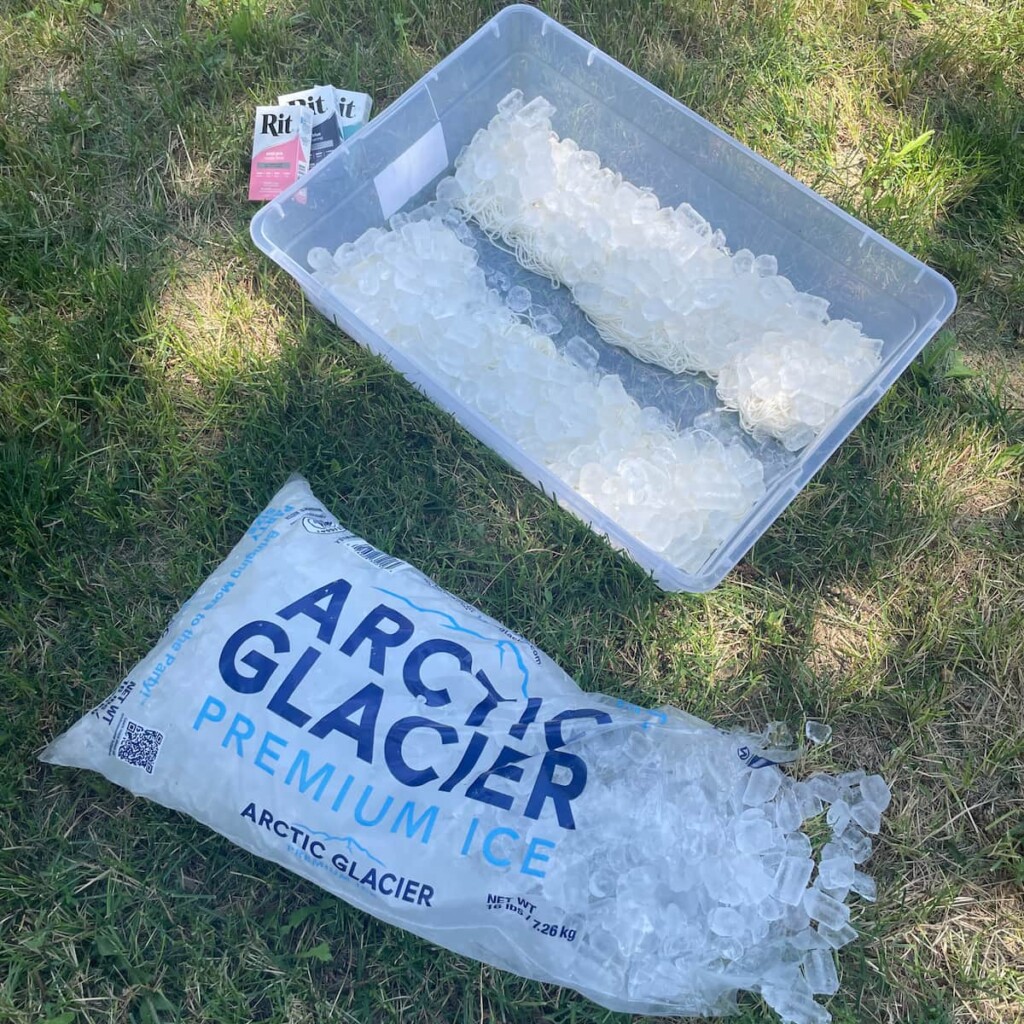
Layer your ice on top of the yarn. I recommend you aim for a relatively thin but complete layer over the surface of the yarn.
Different sizes of ice cubes create different effects! Small, pebble ice creates smaller color spots, and large chunks of ice create larger ones. Experiment to find an effect you like.
7
Put on your respirator, eye protection, and gloves before opening the dye packets.
8
Sprinkle the dye over the surface of the ice. Start with a scant sprinkle—you need much less dye than you think, unless you want a very dark, saturated colorway. In the photos below, you can see the difference in dye used between my first attempt and my second attempt.

For my first colorway, I used a heavier sprinkle of dye in a banded variegated pattern.

I ended up with what I’m calling my “galaxy” colorway, with rich bands of saturated color.

For my second set of colorways, I used much less dye.

I still got lovely, saturated colorways, but with much more white space throughout.
You can also sprinkle the dye first and then lay down the ice for a different effect.
9
Place the dye in a sunny spot where kids and pets can’t get to it and let the ice melt. Keep an eye on it, especially if you aren’t using a rack to keep your yarn out of the melt water. You want the ice to completely melt and for the water to run through the yarn.

You can choose to sprinkle directly from the packet, or use a plastic spoon.

Just a few minutes after sprinkling the dye onto the ice, you can see the dye colors becoming more saturated as they combine with melting ice.

For this pink colorway, I created a few patches of more concentrated dye and included some of the navy blue dye in a fine sprinkle across.

For this blue colorway, I scattered turquoise and navy blue dye relatively evenly across the surface, aiming for a light touch.

For this “Galaxy” colorway, I used more dye in bands of color. As it melted, the saturated colors started to come through.

Only once the ice starts to really melt can you see the intensity of your colors. You can also see the colors starting to blend here—the pink and navy turned purple where they blended.

All the ice has melted and you can see those characteristic speckles, blended and gradient colors, and some places where the dye colors split into their component colors.

I decided to pull my “Galaxy” colorway out early because there was so much dark-colored liquid pooling and I was happy with the saturation I had achieved.
Steam-Setting the Dye
10
This step is absolutely necessary for acid dyes and was suggested for dyeing protein and cellulose fibers alike for Rit dye. The steam heat helps to activate and set the dye to reduce bleeding and improve colorfastness.
For cellulose fibers, the manufacturer may recommend a color-fixer. Mix according to the manufacturer’s instructions in a spray bottle and spray both sides of your yarn. You may or may not need to steam-set the dye—be sure to follow the instructions from the manufacturer for cold dyeing.
There are three methods you can use for steaming: plastic wrap and sun steam, plastic wrap and microwave, or stovetop steam with optional plastic wrap (in order from least to most colorfast).
11
If you’re using plastic wrap, lay out a piece about 3 feet long. Put your gloves and eye protection back on. Take each skein out of the tub and gently squeeze out excess water. Lay the skein on the plastic wrap and create a sealed packet, or place in a zip top bag.
Sun Steam
Leave the packets out in the hot sun, wrapped tightly in plastic, for several hours.
Pros: No power, no heat generated, no dyes in the kitchen
Cons: Least colorfast method (best for cellulose fibers), absolutely need a hot, sunny day
Microwave Steam
Leave about a one-inch opening in each packet and place in the microwave, in a dye-designated glass or baking dish if you would prefer. Microwave on high for 30-45 seconds. Let it rest for 30 seconds, and repeat. Continue for a total of about 3 minutes of microwaving time.
Pros: Generates less heat than stovetop, yet more colorfast than sun steaming
Cons: May contaminate microwave—use covers and a non-food designated glass bowl or baking dish to mitigate this, and clean the microwave thoroughly after use
Stovetop Steam
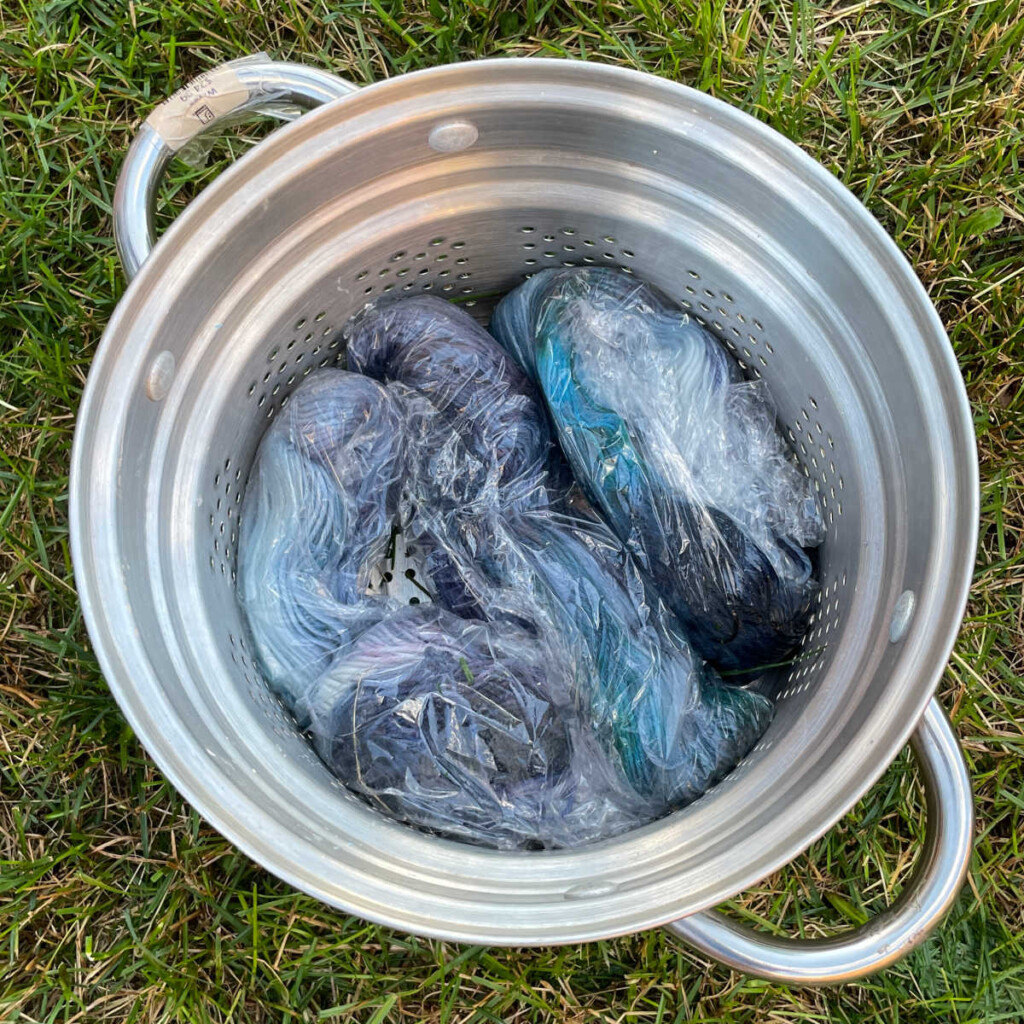
Arrange your packets or loose skeins in a steamer basket. They can be crowded, but don’t overlap them. Fill your pot with a few inches of water and set it to simmer. You want enough water to keep a good amount of steam going, but not enough that it touches the yarn in the bottom of the steam basket.
Once the water is simmering, reduce the heat and insert your steamer basket with your yarn packets. Cover and monitor closely to make sure the water simmers consistently and that the pot fills with steam. Leave the yarn to steam for about 40 minutes. Use the stove vent fan and run an additional fan if desired to disperse the fumes.
Pros: Maximizes colorfastness
Cons: Generates heat (not so fun on a hot day) and the steamer basket and water pot can be cumbersome and heavy
Rinsing and Washing
12
Let your yarn cool to the point where it can be easily handled. For protein fibers, rinsing with cold water too early can shock the fiber and cause felting.
13
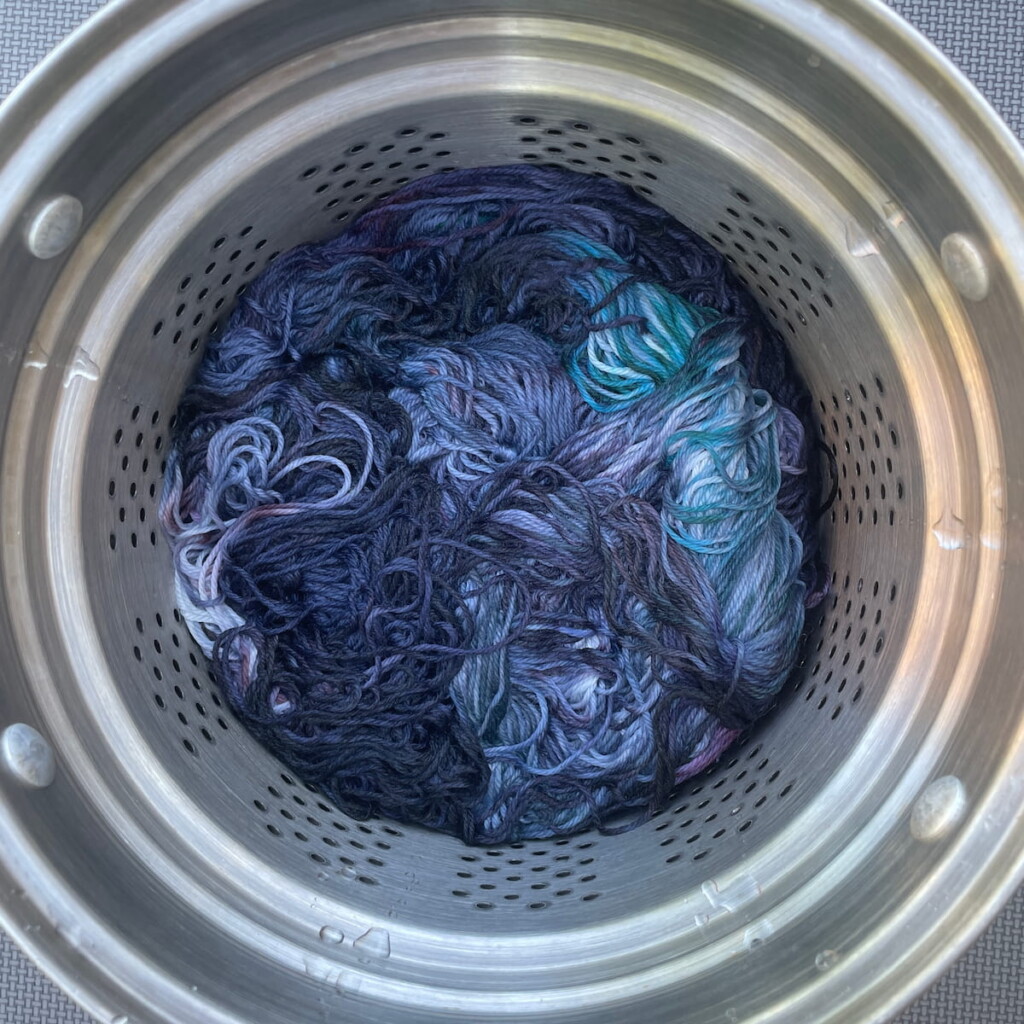
Put on your gloves and rinse the yarn with cool water until the water runs clear. This may be right away or there may be some dye loss, depending on how well the dye has set into the fiber.
14
Soak the yarn in cool water with Synthrapol or gentle detergent for about 20 minutes.
15
Rinse and do 2-3 more soaks in plain water. For wool yarn, a final soak with a wool wash like Eucalan will soften the yarn.
16
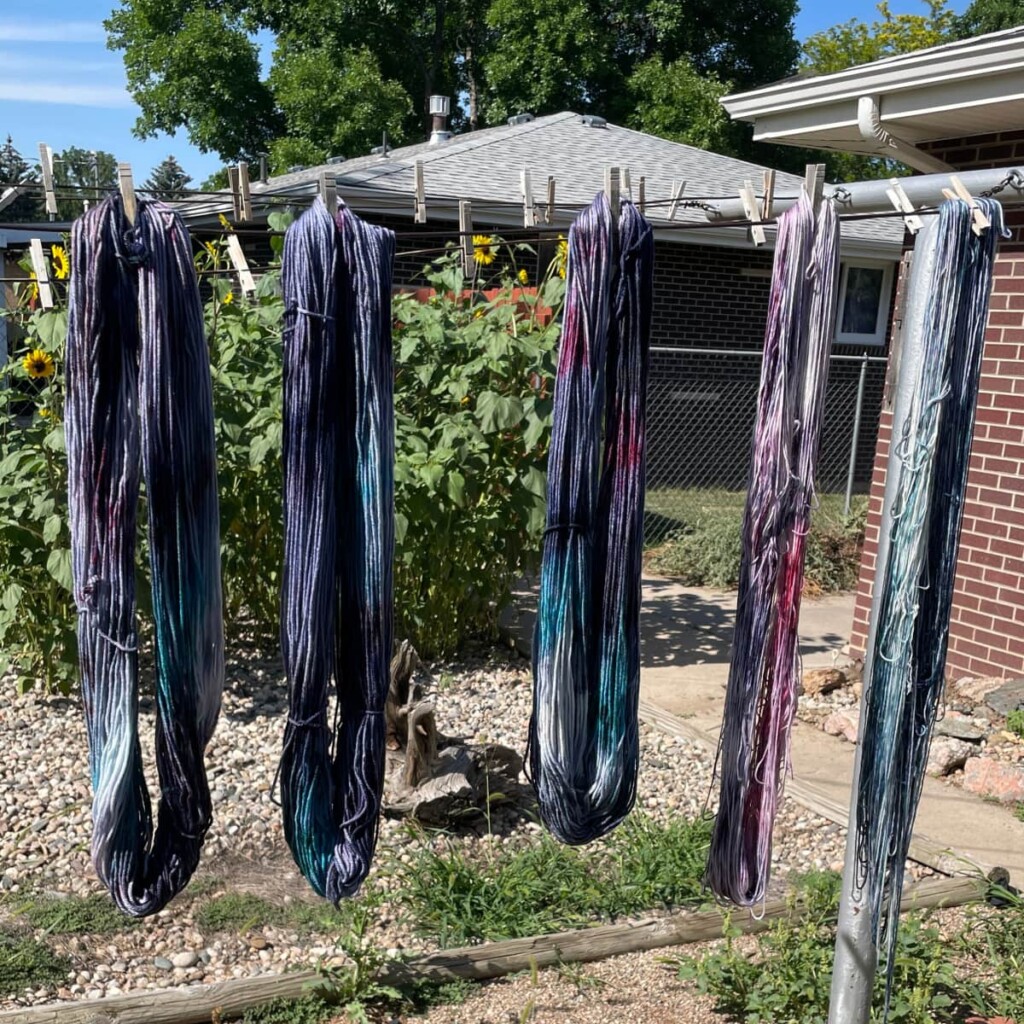
Gently squeeze or press out the excess water and lay or hang the skeins to dry. Be sure they are fully dry before twisting hanks or winding into balls.
Clean-Up and Disposal
If you were left with colorful water in your tub after all the ice melted (and you like the color that is left), you can use it for more dyeing. I put my leftover acid dye bath in my dye pot on the stove and used it to dye a thrifted white sweater with a permanent stain.
17
Follow the dye manufacturer’s instructions for dye disposal. In general, you’ll be instructed to neutralize the dye bath before disposal. For acid dyeing, this means adding baking soda until the PH is neutral. It’s important to follow these instructions carefully to protect the environment and your sewage or septic system.
It’s Always an Experiment!
I learned a lot between day one and day two of my dyeing weekend.
While I’m happy with my first colorway (it reminds me of a galaxy print), it wasn’t what I intended.

Here’s what didn’t go to plan:
✓
Large Patches of White: I didn’t lay my yarn out flat, so ended up with large patches of white
✓
Thick Layer of Ice: the colors blended and mixed a lot by the time they reached the yarn
✓
Concentrated Dye: Sprinkled what I thought was a medium amount of dye, but it turned out to be quite saturated
✓
Busy Colorway: Used three colors and it was difficult to predict how they would blend
On the second day, I dyed two more skeins in two different colorways. I laid the yarn out much flatter, used a thinner layer of ice, used much less dye, and I used only two colors per skein. You can see that my resulting yarn has diffused white space rather than patches and there is more color-splitting, visible gradients, and color spots—lovely characteristics of ice dyeing.

Most importantly, I had a lot of fun and I learned a lot!
Obviously this is a great craft for a hot day, when the ice will melt quickly—but you can also do this with snow in the winter. Or, follow very similar instructions to space-dye yarn with liquid dyes!
Related: Heatwave Survival Guide for Yarn Lovers
Remember, dyeing is an imprecise art. Think of every batch as an experiment. If things don’t go to plan, focus on what you learned and try again. In no time, you’ll learn how to get colorways you like and that you’ll love to use in your knitting and crochet. Hand-dyed yarn also makes a wonderful gift for your friends who stitch!
Have fun, and enjoy the process!
Have you ice dyed yarn? Share your tips in the comments! And let us know if you give it a try.
Andrea Lotz is Interweave’s digital editor and a passionate yarn lover with a weakness for indie-dyed yarn. She makes plenty of time for knitting between home renovation projects, gardening, and baking!
Note: This article contains affiliate links to products independently selected by our editors. If you choose to purchase through our link, we may receive a small commission. Thank you!
More Fun With Dyeing


Join the Conversation!